The true beauty devotees know it’s not just about the products you put on your skin; the tools you use to do so are just as instrumental to the final look. And unlike makeup and skincare, which we use up over time, brushes can have a lengthy lifespan with proper care.
All too often, we overlook how we care for those tools once they’ve made their debuted in our beauty routine. Just like prolific painters, makeup mavens need fresh brushes to make precise, flawless strokes (while keeping their skin free of breakout-causing irritants).
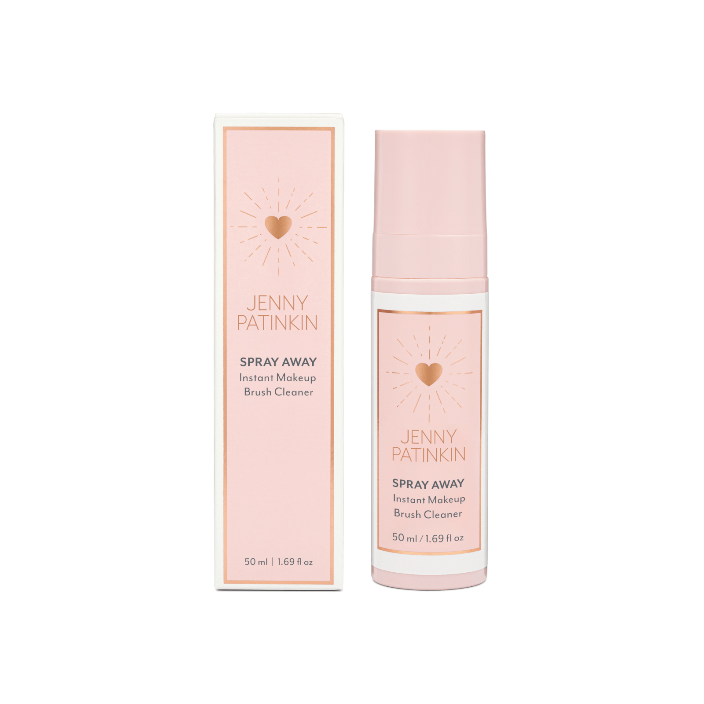
So let’s upgrade your makeup hygiene with this guide, including the essential dos and don’ts of makeup brush cleaning. We’ll break down common myths and spotlight the best products to help you keep your brushes in top condition (hint hint, the Jenny Patinkin Brush Soap and the Spray Away Quick Dry Brush Cleaner are our current go-tos).
Cramped for time? Here’s the TL;DR version:
-
Use Jenny Patinkin’s Brush Soap for a deep, nourishing cleanse weekly.
-
Keep Jenny Patinkin’s Spray Away on hand for fast, between-use cleaning.
-
Avoid harsh soaps, soaking the ferrule, and drying shortcuts.


The Do’s: Frequency, Water Temperature, Touch-Ups, and Air-Drying
DO: Once-Weekly Cleanses (At Least!)
Wondering how often to clean your makeup brushes? The most accurate answer for your routine depends on how often you use the brush, and with which types of product. Beauty tools that handle foundation, concealer, and cream products deserve a cleaning every two to three uses, while powder products (like eyeshadow) can hold up to once-weekly cleanses.
We find that regular washing keeps away the product buildup, bacteria, oil, and dead skin cells that often lurk in the bristles. But if it seems like yet another chore to add to your packed schedule, rest assured that it’ll keep your brushes in prime condition while safeguarding your skin’s health.
DO: Turn the Tap to Lukewarm
Like Goldilocks' favored bowl of porridge, lukewarm water is just right for makeup brush cleaning. Hot water can weaken the glue holding the bristles in place, damaging both the ferrule (AKA the metal part that connects the bristles to the handle) and handle over time. Cold water isn’t harmful per se, but it’s not robust enough to wash away pent-up oils and product residue.
After running your water to achieve the right temperature:
-
Wet the brush head
-
Swirl it on your solid soap (like Jenny Patinkin's)
-
Gently work the lather into the bristles using your fingers or a cleaning mat
-
Rinse thoroughly until the water runs clear.
DO: Use Shortcuts for Touch-Ups
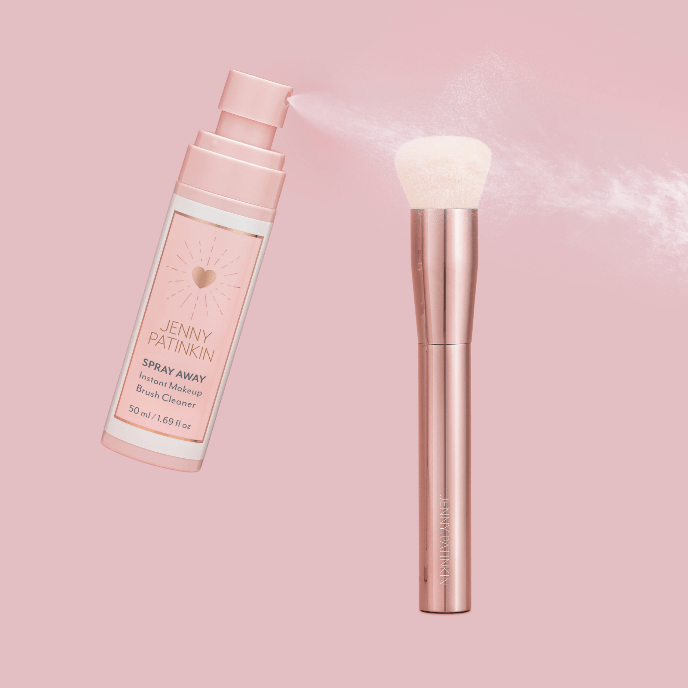
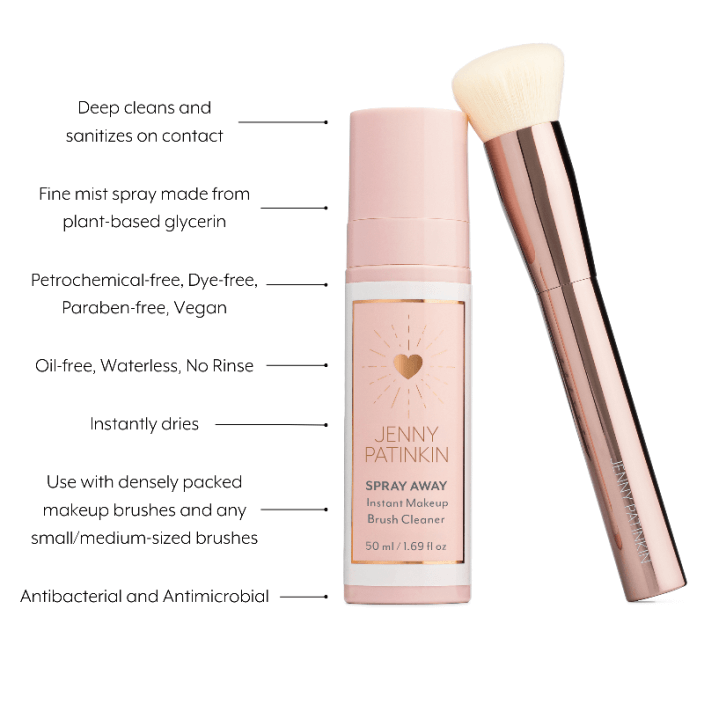
When there’s no time for a full soap-and-water cleanse, you have options. especially if you need to interchange colors mid-makeup session. That’s where a quick-drying cleanser like Jenny Patinkin’s Spray Away is a stellar shortcut, allowing for quick cleanses, even for mid-makeup session color swtiches.
It’s a travel-friendly spray that melts makeup and sanitizes on contact, with no need to rinse. We love it for travel days, when our complete makeup brush set doesn’t fit in the carry-on, and to save time during frenzied morning makeup sessions.
Just spray it directly on the brush head, gently rub the brush on a clean towel (or paper towel), and wait mere seconds before diving back into your beauty routine.
DO: Let the Air Work its Magic, Naturally
After cleanses, gently reshape the bristles and lay your brushes flat on a clean towel. We try to tilt the brush head slightly downward so excess water can drain out of the ferrule. When you sit brushes upright, it allows water to seep into the ferrule, loosening glue and warping wood handles.
Let it be known: Never use a hair dryer or place brushes near direct heat, as it’s a recipe for bristle damage.
DO: Store Clean Brushes Properly
Store your clean, dry brushes upright in a holder or brush roll to prevent bending or flattening the bristles. If you’re using a brush case, make sure it’s breathable and that brushes are completely dry before storing. When moisture gets trapped in the case, mildew and bacteria often eagerly follow.
If you use your brushes daily, try to keep them out in the open in a dust-free zone (ideally somewhere with airflow).

The Don’ts: Harsh Soaps and Skipped Cleanses
DON’T: Wash With Harsh Cleansers or Household Soap
Tempted to grab a bottle of dish soap or hand soap to clean those brushes? Fight that urge! Those cleansers might be okay for your countertops, but they’ll strip the natural oils on your brushes’ delicate bristles, leaving them parched and prone to shedding.
Instead, place your trust in a product specifically formulated for brushes, like Jenny Patinkin’s Brush Soap. This vegan, plant-based solid cleanser is made with organic coconut oil and vitamin E to clean thoroughly without compromising the integrity of your brush fibers, whether they’re natural or synthetic. It even comes in a compact, eco-conscious tin with a silicone cleaning pad for complete convenience, even for frequent fliers.
DON’T: Submerge the Entire Brush
Avoid immersing your brushes in water above the ferrule, as it can loosen the adhesive, causing the brush to fall apart or shed over time. Instead, direct the water and cleanser exclusively on the bristles.
DON’T: Skip Cleaning Just This Once
An isolated instance of skipping brush cleaning is understandable (hey, life happens). But consistent neglect is a common catalyst for breakouts and premature brush damage. Even brushes that appear clean can be teeming with bacteria that’s invisible to the naked eye, especially if they’re often used with cream or liquid products.
When time is tight, try this hybrid routine: Deep-clean your brushes once weekly with Jenny Patinkin Brush Soap, using Spray Away to match up the gaps in between. This way, you’ll always have fresh brushes to reach for, even if a deep clean wasn’t in the cards.
DON’T: Ignore the Handle
The brush handle doesn’t usually touch your face, but it does touch your hands, which carry bacteria. Regularly wipe down the brush handles with an alcohol wipe or paper towel spritzed with disinfectant. Jenny Patinkin’s Spray Away can be used in small amounts on handles to remove any residual product or oils.
DON’T: Skip the Sponges and Puffs
While we’re focusing on brushes here, your beauty sponges and powder puffs deserve some love, too. They deeply absorb makeup and oil from your skin, making them even more vulnerable to bacterial growth.
Jenny Patinkin’s Brush Soap has a rich lather and conditioning oils that work equally well for beauty sponges. For a deeper clean, massage the soap directly into the sponge and squeeze under running water until it’s fully rinsed.
Clean brushes aren’t just an aesthetic bonus: They protect your skin, perfect your makeup application, and prevent the demise of your favorite beauty tools. Thankfully, with thoughtfully-made products and a routine that suits your schedule, brush cleaning can become a seamless addition to your beauty routine.


